Tipping Module
How to Accept Bitcoin Donations with BTCPayWall
Tipping Module
With the Tipping Module you can receive donations and tips via your website.
There are different tipping templates, which can be customized to your individual needs.
The templates are available with the following dimensions:
- Tipping Box – 250×300 and 300×300
- Tipping Banner High – 200×710
- Tipping Banner Wide – 600×280
- Tipping Page – 520×600
The Tipping Box allows the donor to enter a freely selectable amount.
The Tipping Banner and Tipping Page can be set to different amounts in addition to the freely selectable amount.
The donation buttons can be provided with an icon from Fontawesome.
An optional check-out page can be used to request more information from the donor.
In this tutorial we describe how you can add the Tipping module to your WordPress site:
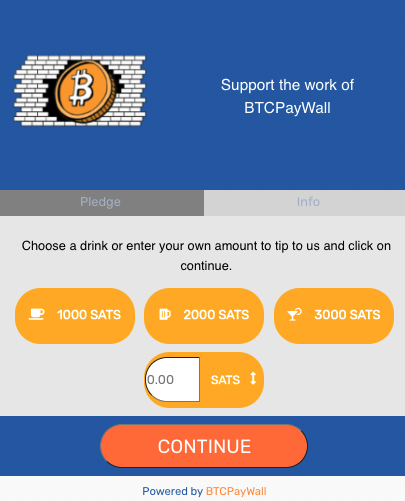
Add Tipping to a web page via editor
The tipping templates can be inserted into any blog post or page within WordPress.
BTCPayWall supports the most popular WordPress website editors, such as Gutenberg, WPBakery and Elementor.
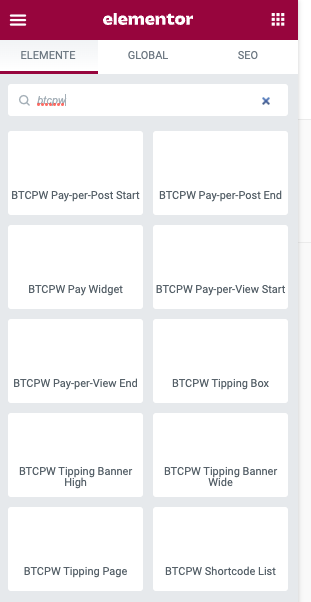
There are predefined elements available, which can be found in the element search under BTCPW (as abbreviation for BTCPayWall).
The predefined elements have the names:
- BTCPW Tipping Banner Wide
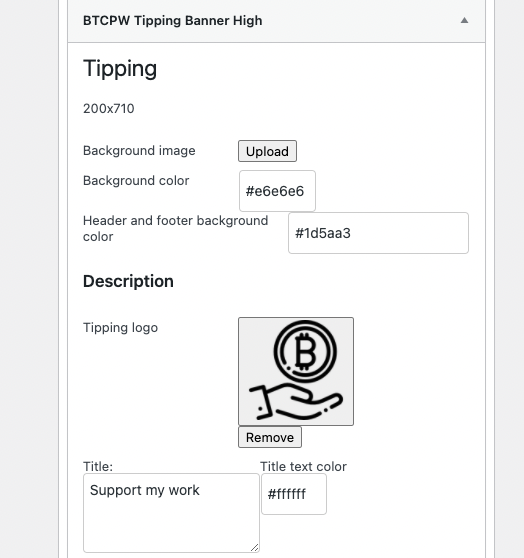
- BTCPW Tipping Banner High
- BTCPW Tipping Box
- BTCPW Tipping Page
We will show how to use the tipping template using Elementor’s WordPress editor. Using it with any other editor is almost identical.
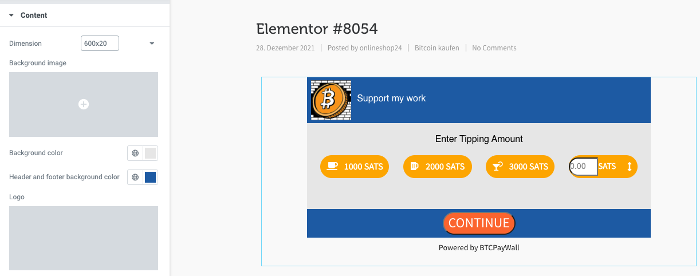
In our example, we use the Wide Tipping Banner Wide to use it to end each web page with a donation appeal.
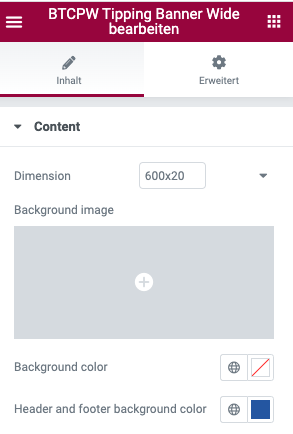
The tipping template is pre-populated with some values, which can be customized to suit individual needs.
Any changes made are immediately displayed in the preview.
The banner is divided into header and footer, as well as the main area with the donation button.
In the main area you can use Background Image to create your own background image or Background color to define a color value.
For the header and footer area a different color value can be defined.
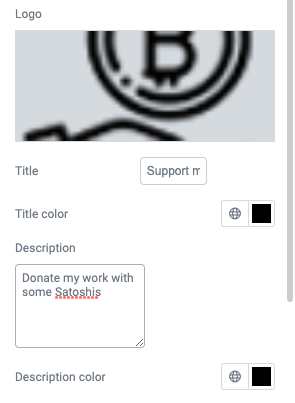
In the header area the own logo can be deposited. The logo is left-aligned.
The BTCPayWall logo is currently stored as a placeholder. With Remove, the logo can be removed and replaced by your own logo. In order to be able to save the change to the logo, a change must also be made to another value. Only then the Save function is displayed.
It is recommended to use the following dimensions for the logo:
- Tipping Banner High and Tipping Page 180×180
- Tipping Banner Wide and Tipping Box 70×70
The text entered under Title is displayed next to the logo. With Title Color the color of the heading can be determined.
Below the headline, a description can be created with Description, which is displayed smaller in the header. A separate color value can also be specified for this.
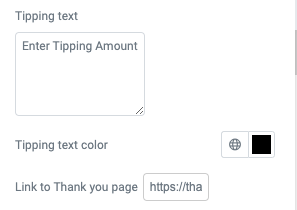
With Tipping Text a text can be defined in the main area, which is displayed centered above the donation button.
If the donation was paid successfully, the donor can be redirected to a Thank You Page. The url of this Thank You Page can be inserted as a link in the Link to Thank You Page field.
Up to four donation buttons can be displayed.
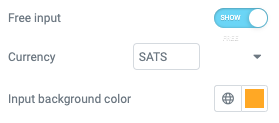
If you want to allow the donor to specify an amount to be donated, then the Free Input field must be activated.
The Currency field is used to specify which currency should be displayed to the donor. Sats, BTC, EUR and USD are available as options.
The respective conversion rate is displayed to the donor with a mouse-over effect.
The color of the donation button is displayed with Input Background Color.
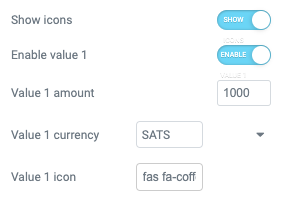
In addition to the free amount input, three further donation buttons with predefined amounts can be created. With Show Icon, icons can be displayed in front of the amount.
These icons are defined under Value Icon. The icons are used by Fontawesome version v5.12. At Fontawesome you can choose the appropriate icon and set the corresponding icon name (for example for a coffee cup fas fa-coffee).
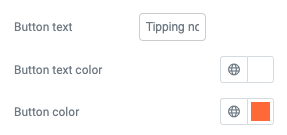
The label of the call-to-action button can be defined in the Button Text field.
Also the color of the button (Button Color) and the text color (Button Text color).
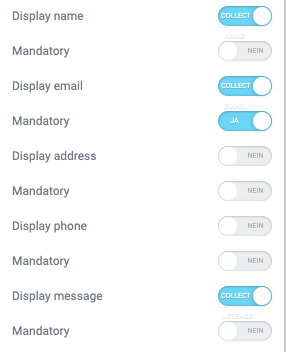
If the donor is offered the possibility to leave further information, the corresponding fields can be activated. If certain fields are not only voluntary, but mandatory, they can be marked as Mandatory.
If this additional information is requested, a checkout page is displayed between the tipping banner and the payment page. In this case, the text Continue is displayed in the call-to-action banner and the text specified under Button Text is displayed on the checkout page.
Insert Tipping as widget in the sidebar
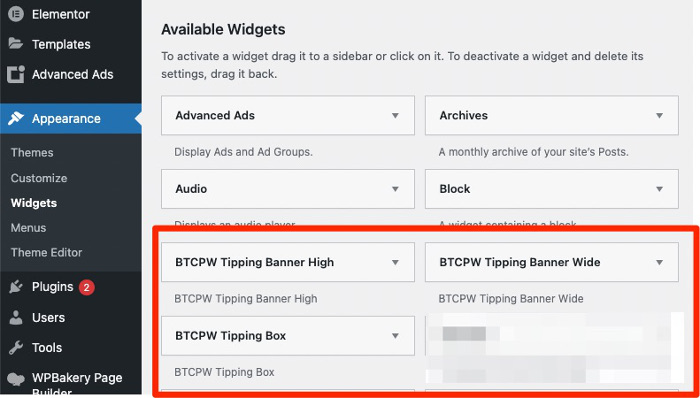
Some of the tipping templates are also available as widgets. Thus, a tipping banner can be integrated into the sidebar or the footer of the website and is thus displayed on every web page in which the sidebar or the footer is displayed.
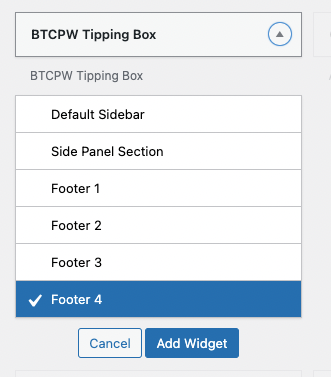
The desired BTCPayWall widget can thus be assigned to the place where it should be displayed.
The BTCPayWall Tipping Box is recommended for integration into the page footer. Likewise, BTCPW Tipping Banner Wide can be integrated into the footer as a page terminator.
The BTCPW Tipping Banner High is more suitable for integration in the sidebar.
On the BTCPayWall page, the BTCPW Tipping Box can be found as a widget in the footer and as a BTCPW Tipping Banner High in the sidebar.
The individual setting options of the BTCPayWall widget is analogous to the customization via editor described above.
Insert Tipping as shortcode
If you don’t edit your website with a special website editor for WordPress, you can also insert the tipping banners into your website via shortcode. BTCPayWall has created a BTCPayWall Tipping Shortcode Editor for this purpose.
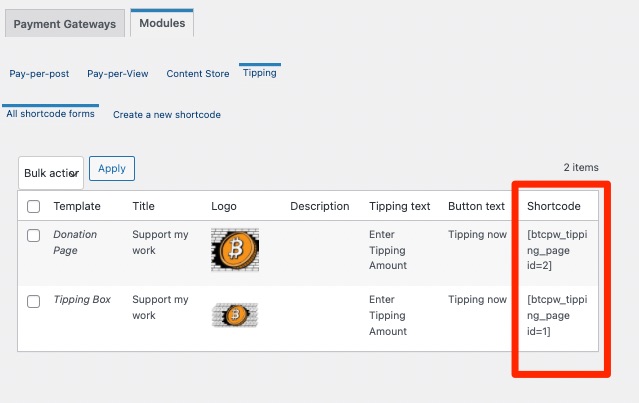
You can find the BTCPayWall Tipping Shortcode Editor in the backend under BTCPayWall => Settings => Modules => Tipping
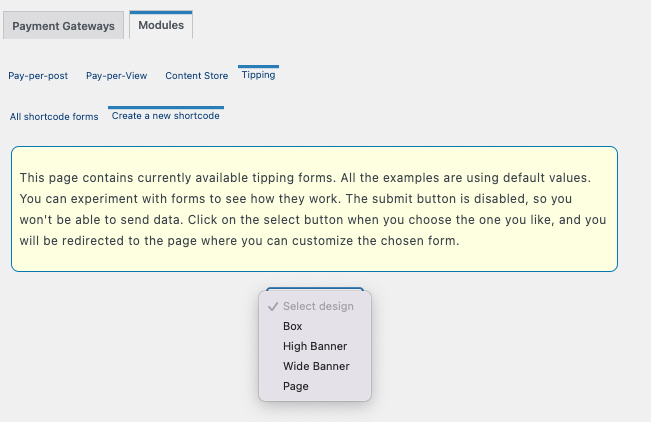
There you will find the menu item to create a new shortcode (Create a new shortcode) or under All Shortcode forms all already created shortcodes.
If you click on Create a new Shortcode and then on Select design, you get a selection of the available templates.
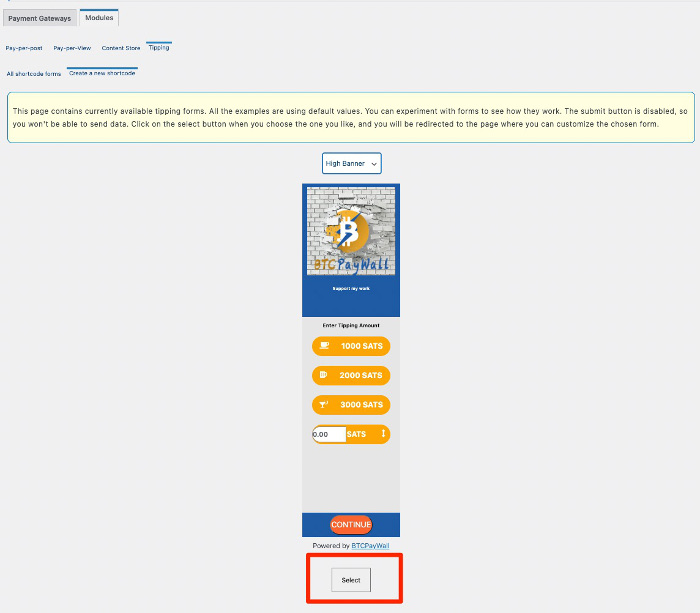
In our example we have selected the High Banner template and are shown the template.
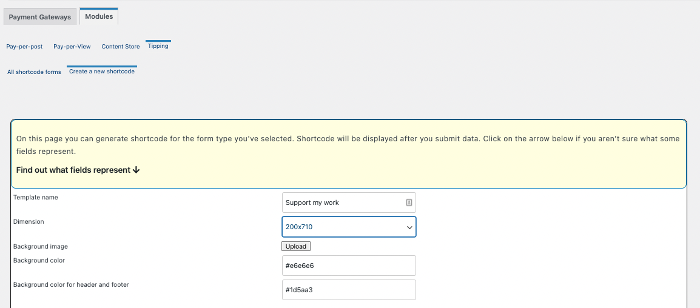
If we also click on Select, we get to the area to customize the template according to our preferences.
Under Template Name we have the option to give the template its own individual name.
We can make the appropriate changes, as already described above.
Once we have made the changes and saved them with Save, the template is listed under All shortcode forms.



13 Comments
Leave your reply.